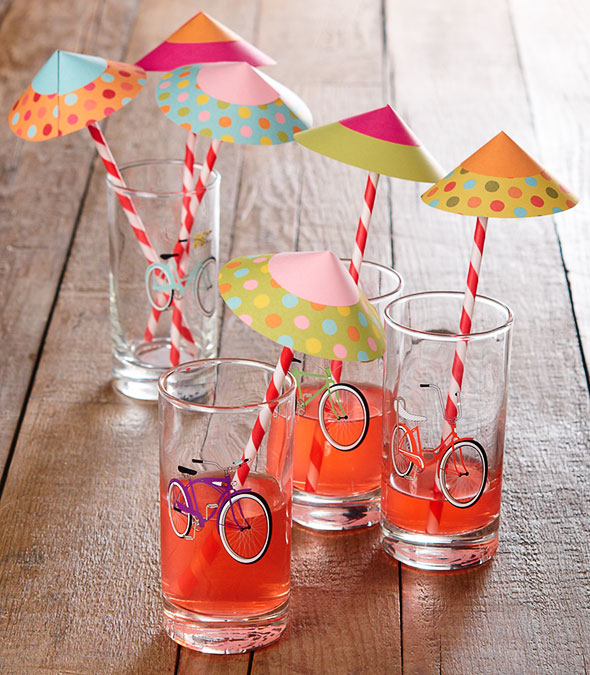
Add an element of cute class to an upcoming dinner party with these dressy drinks. Create paper parasols with ease with our latest how-to!
Materials Needed:
- Polka Dot Paper Parasols How-to PDF
- Red & White Paper Straws
- Polka Dots Origami Paper Pack
- 4″ Round Labels in various colors
- Text Weight paper in various colors
- 2 1/4″ Circle Hole Punch
- Glue Stick
- Zots Dots (we recommend the medium size)
- Scissors
Instructions:
- Create the bottom layer of the parasol by adhering a 4″ round label in the color of your choice to a sheet of polka dots paper. Using the edge of the label as a guide, cut off the excess paper with scissors.
- Punch out a circle from a contrasting color of text weight paper using the 2 1/4″ hole punch. Choose which side you would like to be the top side of your parasol and use a glue stick to adhere the smaller circle on top of the larger one.
- Use scissors to cut a straight line halfway through the layered circles. Create a cone shape by overlapping the circle at the cut line and adhere in place using glue stick. Secure to straw with a medium glue dot on the underside of the parasol.
Not your style? Check out our summer cup covers!
Bottoms up!
-Claudia
Favorite PS colors: curry & fuchsia
Latest Fave: Red & White Paper Straws


I would love to know where you got the wonderful bicycle glasses! 🙂 della
Hey, Della! The bicycle glasses are actually ours! You can find them here: http://www.papersource.com/item/Paper-Source-Retro-Bike-Glasses/3305_001/414744.html