In addition to centerpieces, wedding place cards, dinnerware and custom wedding napkins, wedding menus are staples of a wedding reception table. Not only do they wet your guests’ appetites by listing the culinary elements of the meal, menu cards offer another opportunity to present your wedding style and enhance your overall table setting. In the sample wedding menus below we’ll share a few products and techniques that are wonderful for making menu cards for wedding receptions, but can also be used as wedding shower menus, baby shower menus and dinner party menus.
Often times a wedding menu card will be featured at each place setting and is therefore worked into the design of the dinnerware and napkins. In this example, the napkin was folded so the menu card could be tucked inside along with a pair of chopsticks. This menu card is made with three layers – a black #10 flat card as the bottom layer, pool cover weight paper (you can use cover or text weight) cut to fit just inside the black #10 card, and white text weight paper with the printed menu cut to fit just inside the pool layer (text weight is the easiest paper to print at home). When layering a good rule of thumb is to leave 1/8” border around all four sides. To add more visual interest to this place setting, Flora & Fauna Tiny Print Pool Wrapping Paper was cut into wide bands and folded over the charger. A small piece was also cut to wrap around the chopsticks.
One of our favorite embellishments for wedding invitations, programs and menu cards is a paper sash.
Add a band of color or pattern with a single strip of paper. Here we’ve printed our menu details onto white text weight paper, then cut it down to fit just inside a curry A7 flat card. A sash cut from our Yuzen Pink & White Plum Blossoms on Curry Fine Paper was wrapped around the menu cad and secured in the back. This sash covers the printed text and is meant to be removed to read the entire menu. If you use a sash that should be removed, remember to adhere the ends of the sash only to the sash itself and not to the card it surrounds (that way it can slide right off). Sashes are so easy to cut on your own using a paper cutter or try our pre-cut sashes in a 1 ½” width.
To assemble layered cards we recommend using double stick tape, a tape runner, or for a really finished look a Xyron machine (either Xyron 510 or 900 depending on the width of your cards). A Xyron machine adds an even layer of adhesive to your entire card – just feed your card and turn the knob.
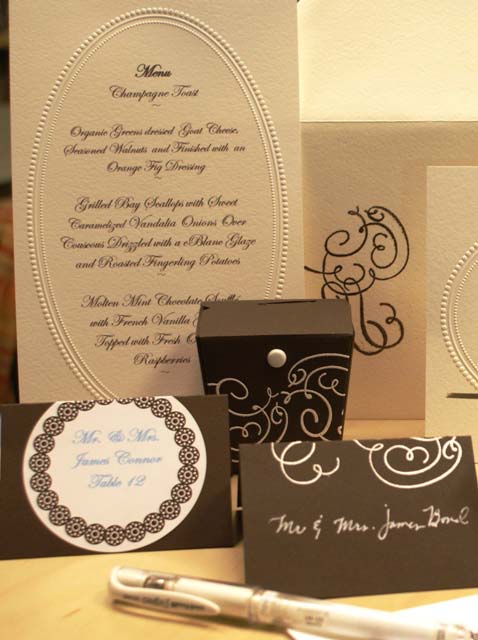
We love layering cards because it adds dimension and interest to a printed card, but another alternative is using an embossed card. Our Beaded Oval A9 Embossed Printable Party Invitations make wonderful menu cards and can stand alone without additional embellishments. Present an embossed menu card at each place setting or use one at each table by displaying it in a stand.
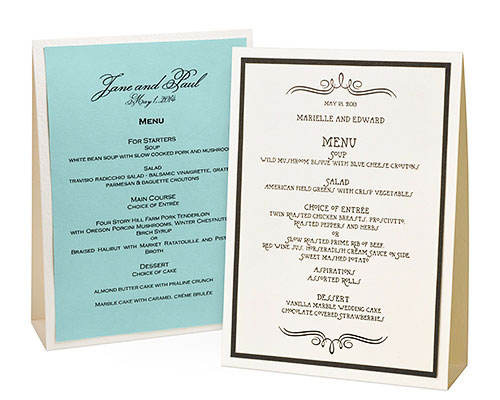
Another great way to display just one menu per table is with a table tent card. A printed A7 flat card fits on the face of the table tent leaving a perfect border, or create additional layers by using an A7 flat card, then another layer that fits just inside.
One of the hardest parts of a DIY wedding project is deciding on an idea. Once you create a vision for your menu card, it takes just a few supplies, time and perhaps help from friends to make it happen.
–Kristen
PS colors: lake & chocolate
Latest fave: Printable Labels


